So lately I've been in a "let's get it done without spending a lot of money" mood. Every so often this switch goes off and, when it does, I turn to my list of DIY projects. I mentioned earlier in the year wanting to renovate my office, so I decided to kick things off with a new paint color.
 |
| Paint Color: Benjamin Moore, classic gray, #1548 |
I chose Benjamin Moore Aura in classic gray, eggshell finish, as my new wall color. As you can see from the paint deck, classic gray is a lighter gray, which will reflect light back into the room and keep my surroundings feeling bright and fresh. Aura is Benjamin Moore's most premier paint, and it can be mixed to any Benjamin Moore color. A gallon of Aura is more expensive than other brands, however it's worth every penny! I recommend using Aura for how well and evenly it covers. The paint is very thick, so in most cases, all you need is one coat and you can forego the primer.
Before I began painting, I noticed my walls needed to be prepped, so I gathered my supplies: joint compound, scraper, sandpaper, painter's tape, paint, brushes, bucket, roll pan and roller.
I covered all the holes in the wall first, including those super small pin holes, with the joint compound. Once the compound was dry to the touch, I was ready to start sanding. FYI, before you start sanding, cover all furnishings with plastic to protect them from the sanding dust you will create.
Also, don't forget to wear your safety glasses, especially if you wear contacts!
 |
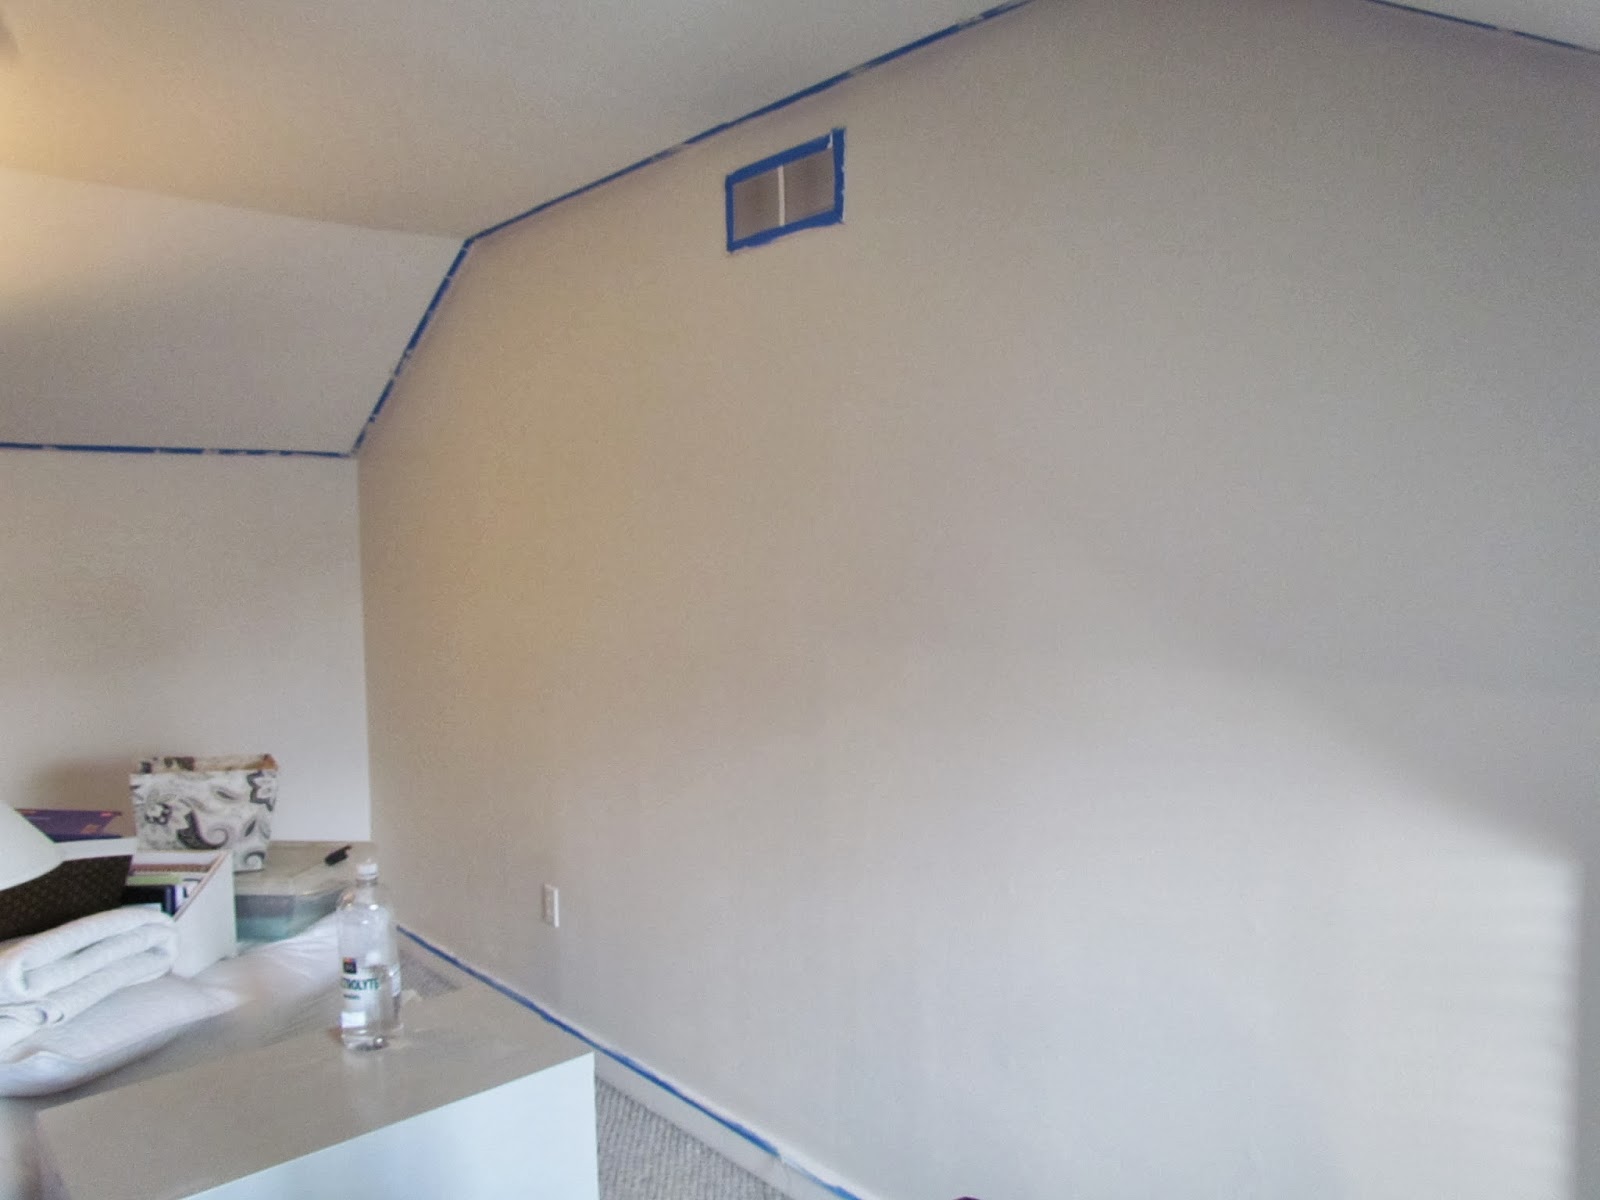
Once the walls were smooth and taped, it was time to roll on the paint.
so focused...
Two painting days later...I was nearing the end.
My favorite part, peeling the tape away from the wall.
I would be remiss if I didn't tell you the number of times I wanted to call my painter, but I'm glad I finished the project myself.
As an added incentive to DIY, I decided the extra money I saved painting myself, will go towards new flooring for the space. ;)
Sending Love and Design.


No comments:
Post a Comment